
Hiding empty staves and fitting systems on pages.
A line of music across a page, whether it’s made up of one instrument or multiple, is called a system. Adjusting the size of your systems, and how many appear on a page, allows you to make the most of your available printing space.
By the end of this lesson you will know how to:
- Hide your staves and adjust the space between them
- Adjust the system spacing and number of systems per page
To begin at this point, open
Hiding and spacing staves
One way you can make your finished score more efficient is to remove staves that don’t have music in them. In the music you’ve created, the clarinet doesn’t play until measure 9, resulting in eight empty measures printed in the score.
To hide empty staves
- Select the Staff tool
 .
. - Press
- Choose Staff > Hide Empty Staves.
Notice the line that appears in place of the clarinet staff in measures 1-8. This indicates that a staff has been hidden.
Finale has not only hidden the empty measures, but has re-adjusted the number of systems on the page. This is a function of Automatic Update Layout.
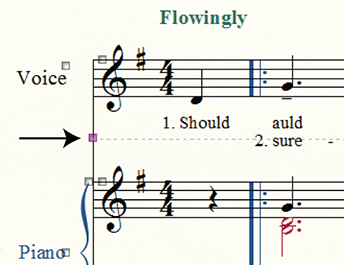
Notice the second verse beneath the Voice staff is rather close to the right hand of the Piano staff. Let's move that staff down in the first two systems.
To move a staff up or down in a system
- Select the Staff tool .
- Click the handle on the top Piano staff, first system, and drag down a bit. Notice the spacing between subsequent staves does not change.
- Do the same for the top piano staff in the second system.
We just changed the spacing for individual systems. You can also adjust the staff spacing for all systems at once. For example, lets say you wanted to lower the Clarinet staff from the third system to the end of the piece.
To move a staff up or down for all systems
- Double-click the handle on the Clarinet staff in measure 7. All measures are now highlighted in the Clarinet staff.
- Drag the staff down (to about 1.11"). Notice the spacing changes in all systems.
Fitting systems on pages
You can drag systems to adjust their spacing manually. You can move them while leaving the spacing of subsequent systems uniform, or move them independently.
To reposition systems and finalize the layout
- Click the handle on the upper left corner of the top staff and drag it down a bit. This handle doubles as the top system margin for the first system.
- Choose the Page Layout Tool
 . Click the top system and drag down a bit. Notice subsequent systems adjust accordingly. You cal also drag a system independently…
 - Hold down
- Move through the pages and edit the systems so that there are two systems per page.
- In some documents, you may end up with a single "rogue" measure taking up a whole system on the last page. To move this to the previous page (and remove the last page altogether), simply move the measure to the previous system by choosing the Selection tool
 , selecting the last measure, and pressing UP ARROW.
Use the above techniques to manually position systems visually. To specify a number of systems per page automatically, choose Page Layout > Space Systems Evenly, and then enter the number of systems in the Distribute Systems section and click OK. For additional control over the precise spacing of system and page margins, see Page Layout.
 Previous Previous
|
Next 
|
Finaleユーザーマニュアル Home
Finale for